My Favorite Command Line Applications 👾
If you’re somewhat familiar and comfortable diving a little deep into your computer to get the most out of it, then you are probably familiar with the CLI (command line interface). While I won’t be going into the details of what it is, you can check out this great post to get a quick idea, and this one to get started with the Terminal on MacOS (which is what I’m using), and come back here to follow through.
Keep in mind that some of these are functional, some are absolute essentials, while others are just fun to mess with. While you can realistically do almost anything on a terminal, the idea for me is to use it when it makes sense to do so. While there are tools to even visit websites directly from the terminal, I imagine it wouldn’t prove too useful for most.
For the installations and the rest of the post, I am using the Bash shell version 5.2.15, on MacOS. As for the package manager, I will be using homebrew for the most part and some npm here and there as needed. There is a good chance all or most of these tools are available for your OS, so be make sure to check those out online for your OS if it’s different from MacOS.
1. Neofetch
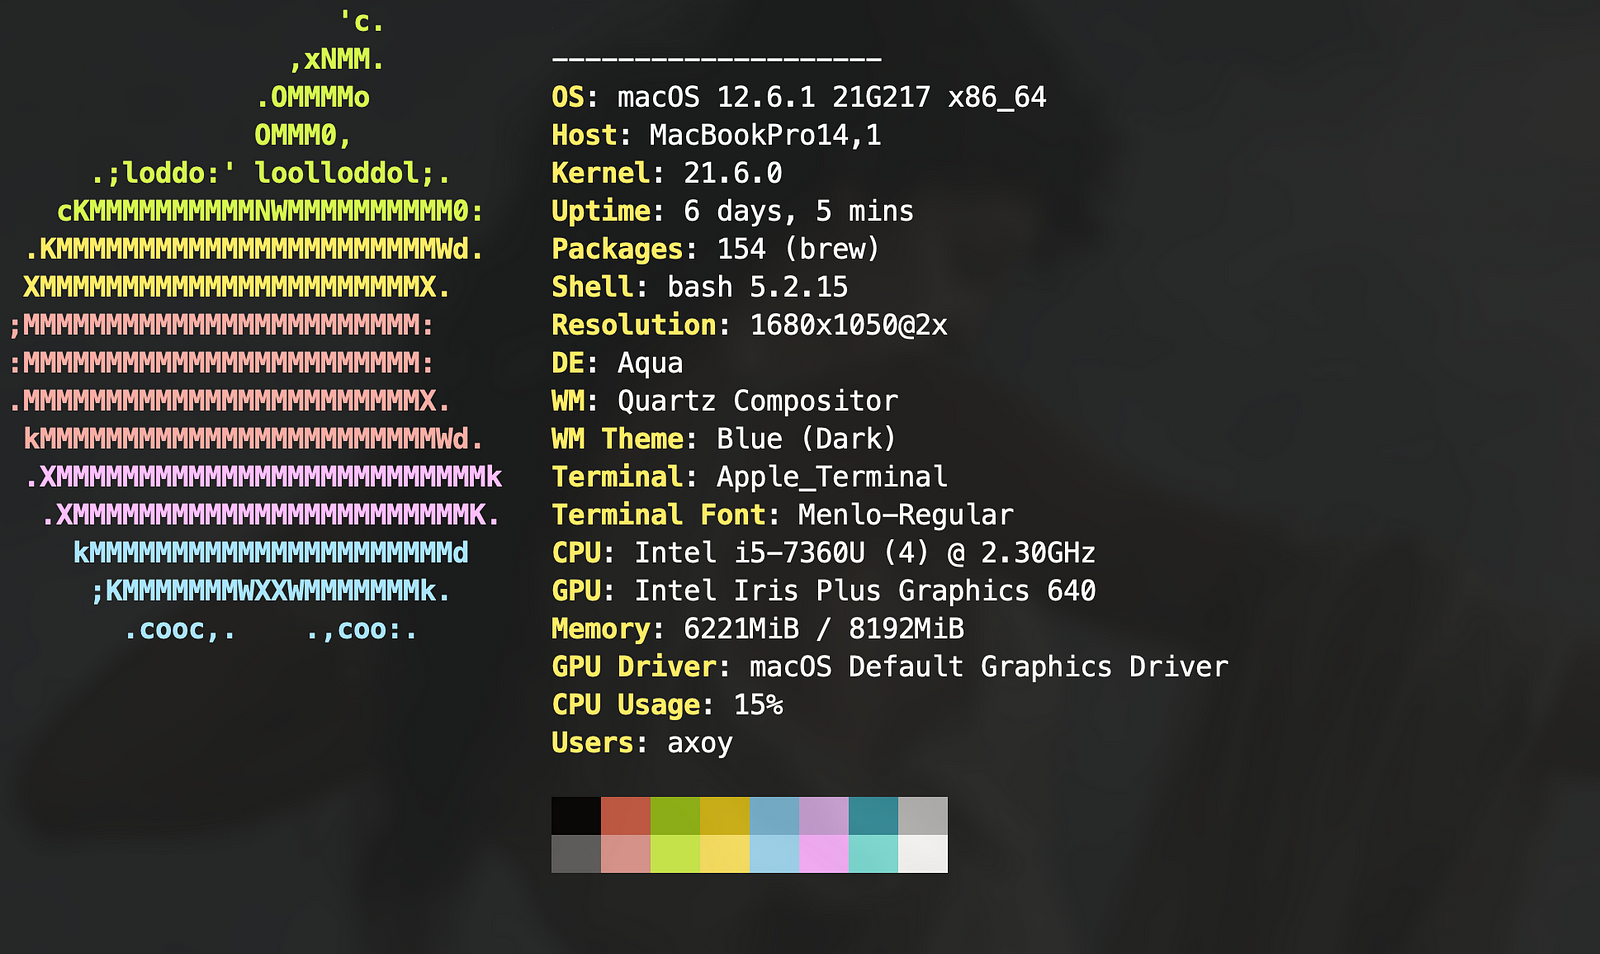 Neofetch showing system info
This one is nice and simple, and there’s a good chance you’ve already heard of it. Neofetch allows you to see all the essential information of your system, all with one command!
In the screenshot, you can see system info like the shell I’m using and its version, the system uptime, how much memory is currently being used, CPU usage, and more — of course with a neat apple logo which just makes it that much ✨cooler✨.
Installation
Assuming you have homebrew installed and already setup, run the following command:
1
brew install neofetch
After it’s done downloading, you’re basically good to go! Simply run it by typing in neofetch followed by any options you would like to use:
1
neofetch [options]
And you’ll see all your important system info 🥳.
You can go crazy with all the customization stuff, so be sure to
to check out the github page for the full docs. Pretty much whatever you see you can change.
One of the reasons I really like neofetch is that you can take use it as a screenshot for others, let’s say for stack overflow when I have a question, I can simply run neofetch and post a screenshot of my info to post alongside my question to give context — and hopefully get a quick response on there.
NOTE: If you’re planning on sending a screenshot of your system info, make sure to cover up any sensitive information on there, like your ip address! It is possible to customize the neofetch script to display that kind of information, so make sure you keep that in mind 🌊.
2. Htop
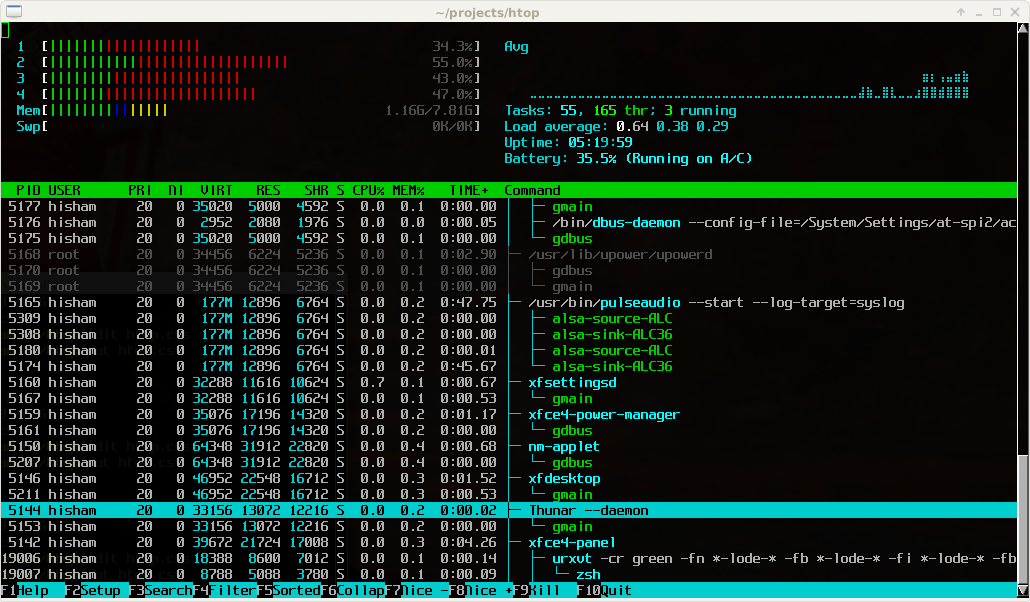 Screenshot of htop, from htop.dev
Another absolute must-have for me is Htop — the interactive task viewer.
While Mac comes pre-installed with top, htop offers more features like color-coding, plus you can sort by a criteria simply by clicking on one of the columns, making it more user-friendly.

top (left) vs. htop
Installation
Again, using out trusty package manager, brew:
1
brew install htop
Then simply run htop and enjoy!
For more info, be sure to checkout the official docs.
3. Speedtest-cli
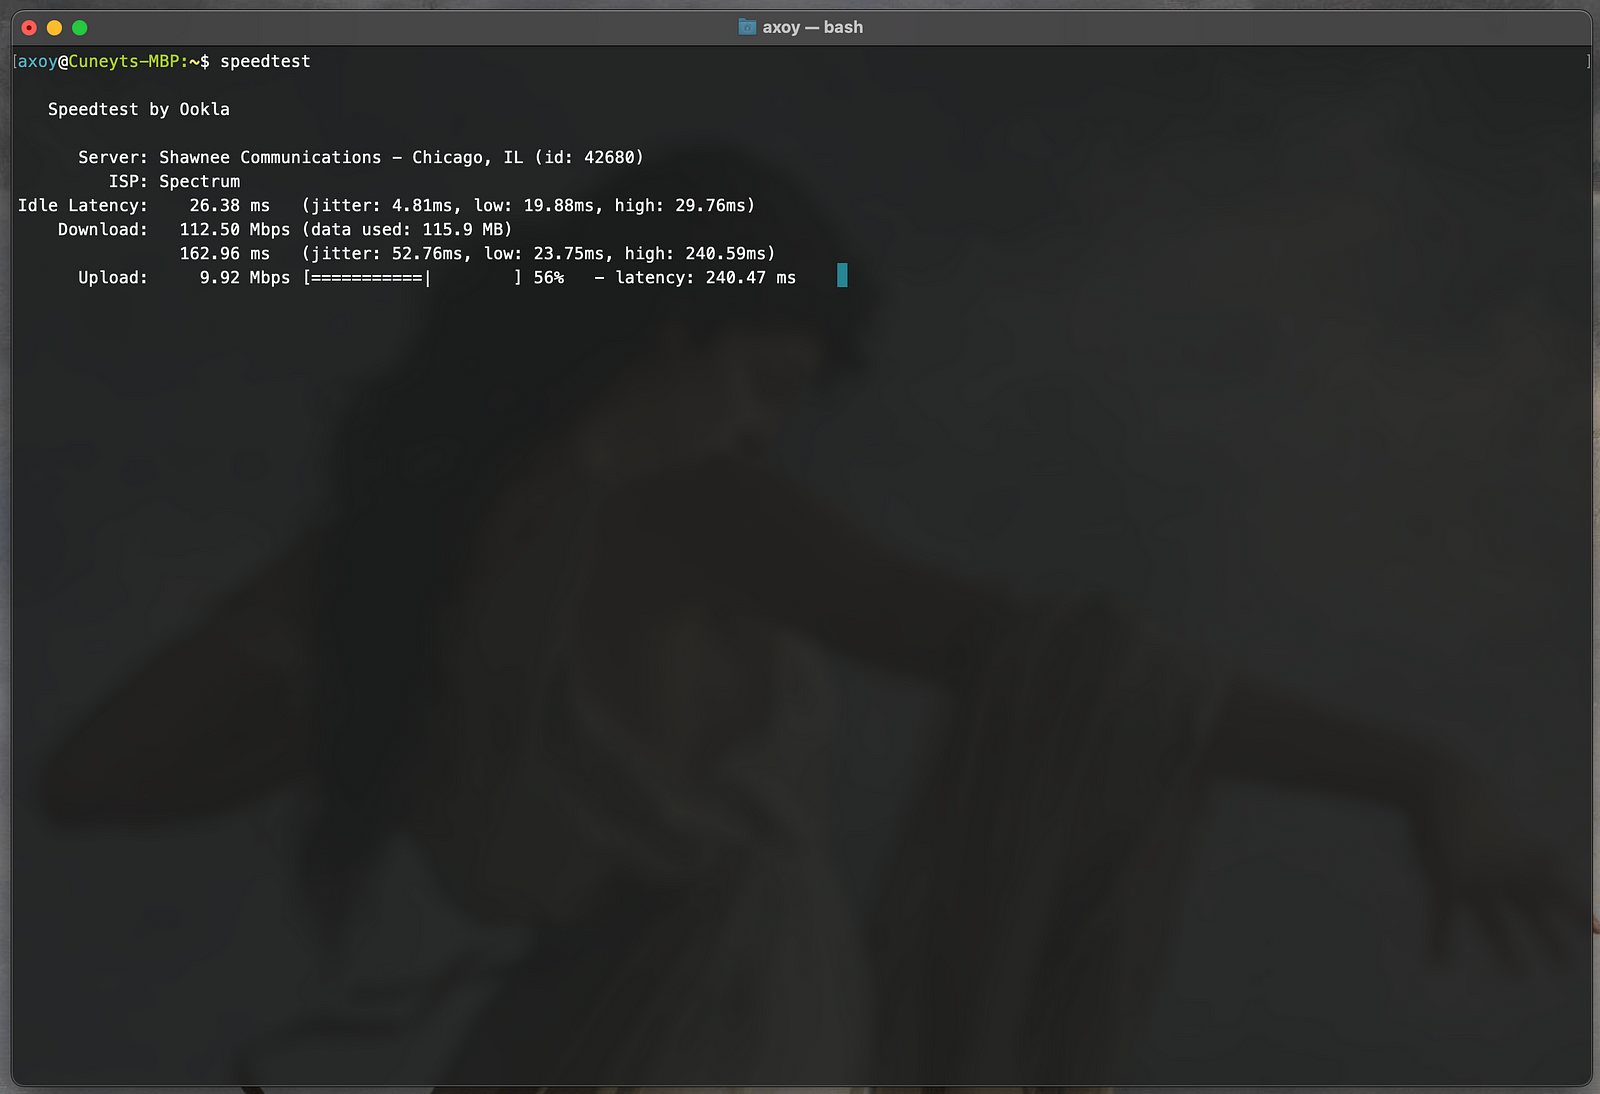
Running the CLI version of Speedtest
If you find yourself often connecting to public wifi (which if you do, I highly recommend using a vpn), you might want to check your bandwidth from time to time.
The most common way to do so is simply by heading over to speedtest by Ookla, and clicking “Go”. But of course, if you’re anything like me and you rely on this all the time, you probably want a faster way to do it.
Installation — MacOS (Brew)
1
2
3
4
5
6
brew tap teamookla/speedtest
brew update
# Example how to remove conflicting or old versions using brew
# brew uninstall speedtest --force
# brew uninstall speedtest-cli --force
brew install speedtest --force
For more installation options and operating systems head over to the official site.
4. Medium Exporter
This one’s pretty simple. Say you have a Medium blog post that you want to export and upload somewhere else, like your own website, without having to write the whole thing in markdown from scratch. That’s where Mediumexporter comes into play. Make sure you have Node and npm downloaded for this, since that is what we’re using, rather than brew:
Installation — Using NPM
After you installed NodeJS and npm, run:
1
npm install -g mediumexporter
Then, grab the link of the Medium post you would like to export, and run the following:
1
mediumexporter [link] > outputname.md
This will export the Medium article to a markdown file with the name of [outputname] into the current directory, from which you can simply upload the file onto your webserver, make changes as necessary, and then push those changes to your website. This way, you won’t have to write the whole thing again.
Note: If you have problems with this application, you can also use MarkDownload, a Chrome extension version if you prefer.
This is how I exported this article, which was first written on Medium, then exported to my website, which is hosted on Github Pages using Jekyll.
For more help on using Mediumexporter, check out this great post!
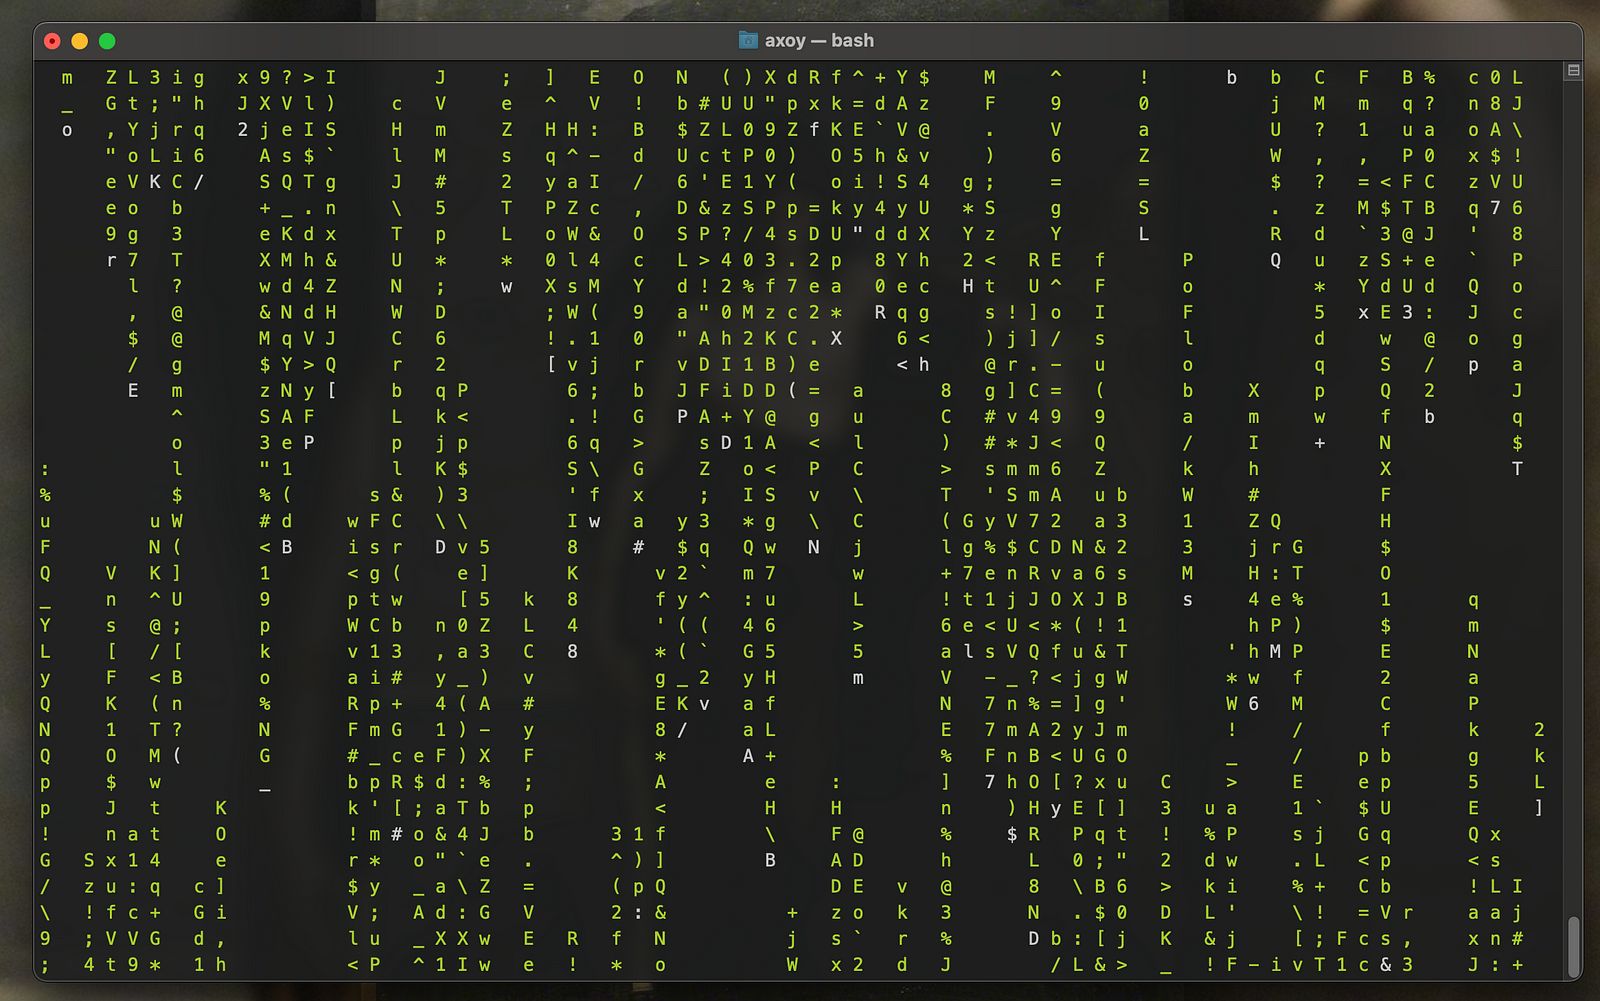
5. Cmatrix
Here’s a fun pick that’s not the most functional, but it’s definitely got some cool factor. It’s like those falling letters you see in the Matrix movies, giving your terminal window a bit of a makeover and a nod to pop culture.
Installation — Using NPM
1
brew install cmatrix
Then simply run cmatrix and enjoy! I occasionally use this as a screensaver — and think it adds a cooler dynamic to my terminal.
For more options and help run cmatrix -h, man cmatrix, or check out the cmatrix github page.
6. FFmpeg
This next one is, without a doubt, one of my go-to command line tools that I use all the time. If you haven’t heard - FFmpeg is the father-of-all command line program when it comes to handling video, audio and images. You can do pretty much everything you can imagine - whether it’s the simple things like converting a video from .mp4 to .mkv format, trim and edit videos, upscale videos using AI, extract certain frames from a video, merge tracks together, and so, so much more.
If you worry that video or audio editing on a text-based terminal feels… unintuitive — you’re not alone. Having tried programs like Handbrake, Final Cut Pro, Capcut, Adobe Premiere Pro, and more, I wasn’t sure how useful FFmpeg would be. But here is the thing: in my opinion, you use these programs differently. Sure, there is a learning curve when it comes to this program, but once you get the gist of it — nothing beats its speed. I find myself often trimming videos, merging an audio file with a video, converting audio files to different formats, changing bitrates, changing bitrates, rotating and flipping videos, etc. If you don’t want to fire up a whole video editing software to work with content — and then deal with the exporting times (which usually take longer due to rendering), then FFmpeg might be worth a shot.
Installation — Using Brew
Simply run the following:
1
brew install ffmpeg
Note: FFmpeg needs quite a few libraries in order to work properly, so don’t be discouraged if the above command takes a while.
After installation you can check your version using:
1
ffmpeg -version
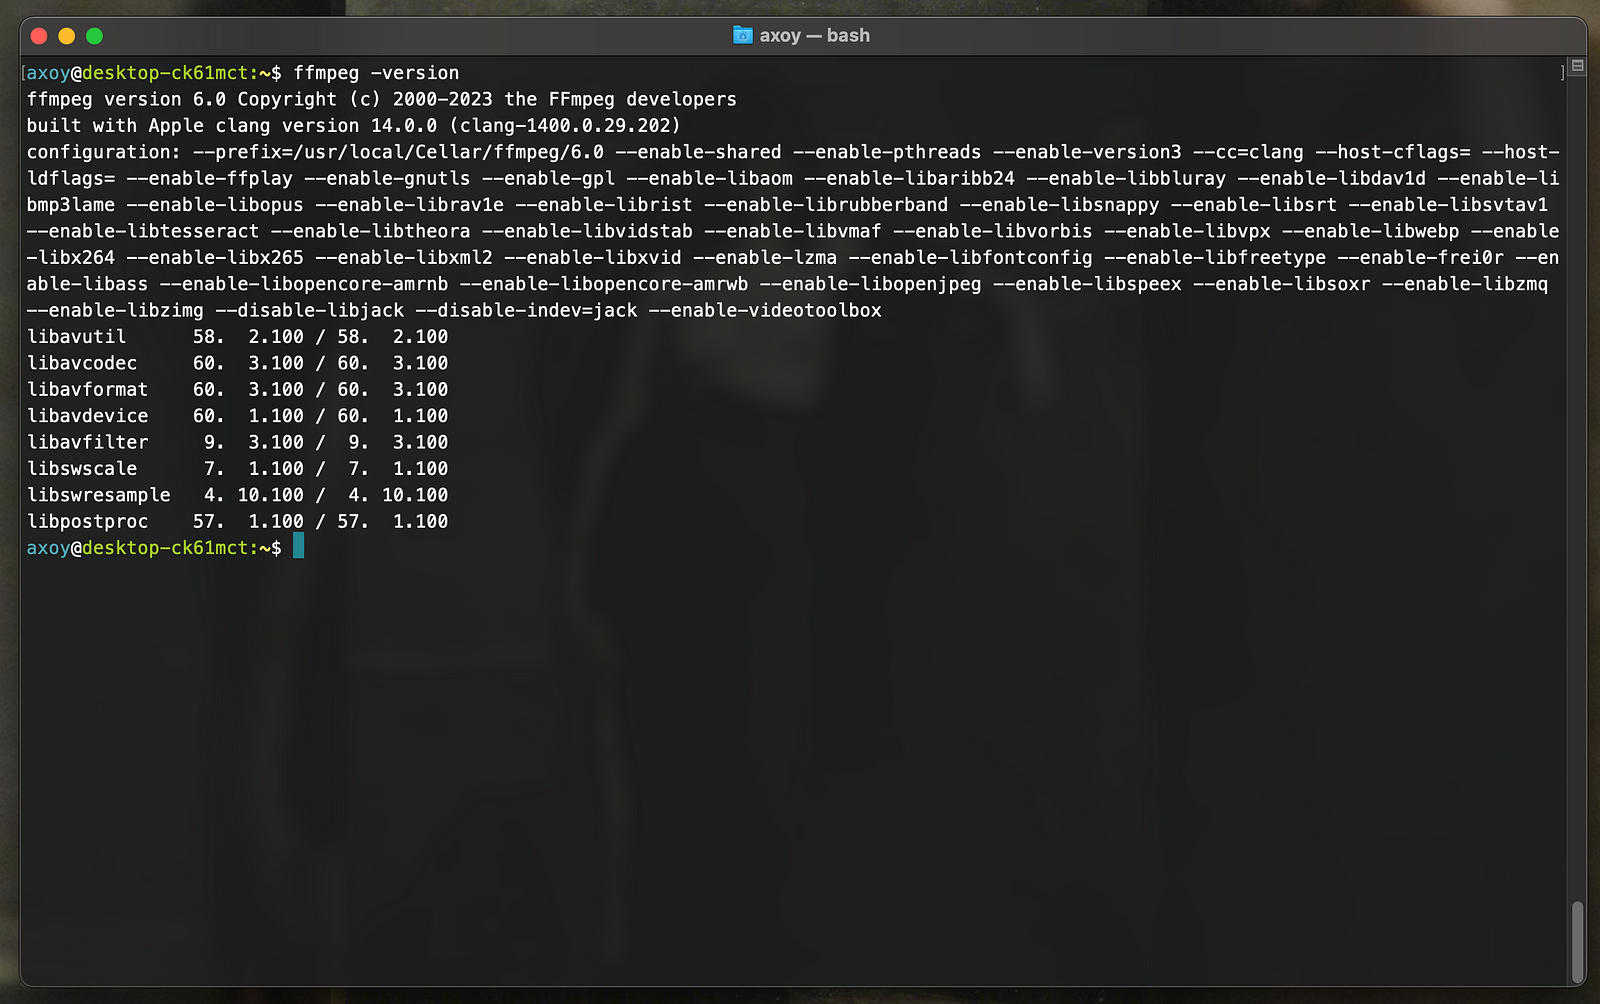 _FFmpeg successfully installed!_
Now there is no way I could possibly even begin to scratch the surface of what you can do with FFmpeg — but let me show you quickly how to convert a video from .mp4 to .mp3 format (meaning we extract the audio).
If you have a video named input.mp4, and would like to convert it to an audio file named output.mp3, you would run the following:
1
ffmpeg -i input.mp4 -vn -acodec libmp3lame -q:a 4 output.mp3
And if you’re wondering what it all means:
-i input.mp4: Specifies the input file, in this case, “input.mp4.”-vn: Tells FFmpeg to exclude the video stream, so only the audio will be processed.-acodec libmp3lame: Specifies the audio codec to use (libmp3lame for MP3).-q:a 4: Sets the audio quality. A lower value like 4 will result in a smaller file size but potentially lower audio quality. You can adjust this number as needed.output.mp3: Specifies the name of the output MP3 file.
And that’s it! You now have a new file named output.mp3, which only contains the audio from the video.
Check out the original FFmpeg docs for more information on usage.
7. Wifi-Password
This one is pretty straight forward - and easy to use. If you are connected to a wifi network but can’t remember it’s password (let’s say when someone asks you for it), there is a way to view it using just one command.
Installation — Using Brew
1
brew install wifi-password
Once you run the command wifi-password , you will be prompted to enter your username and password:
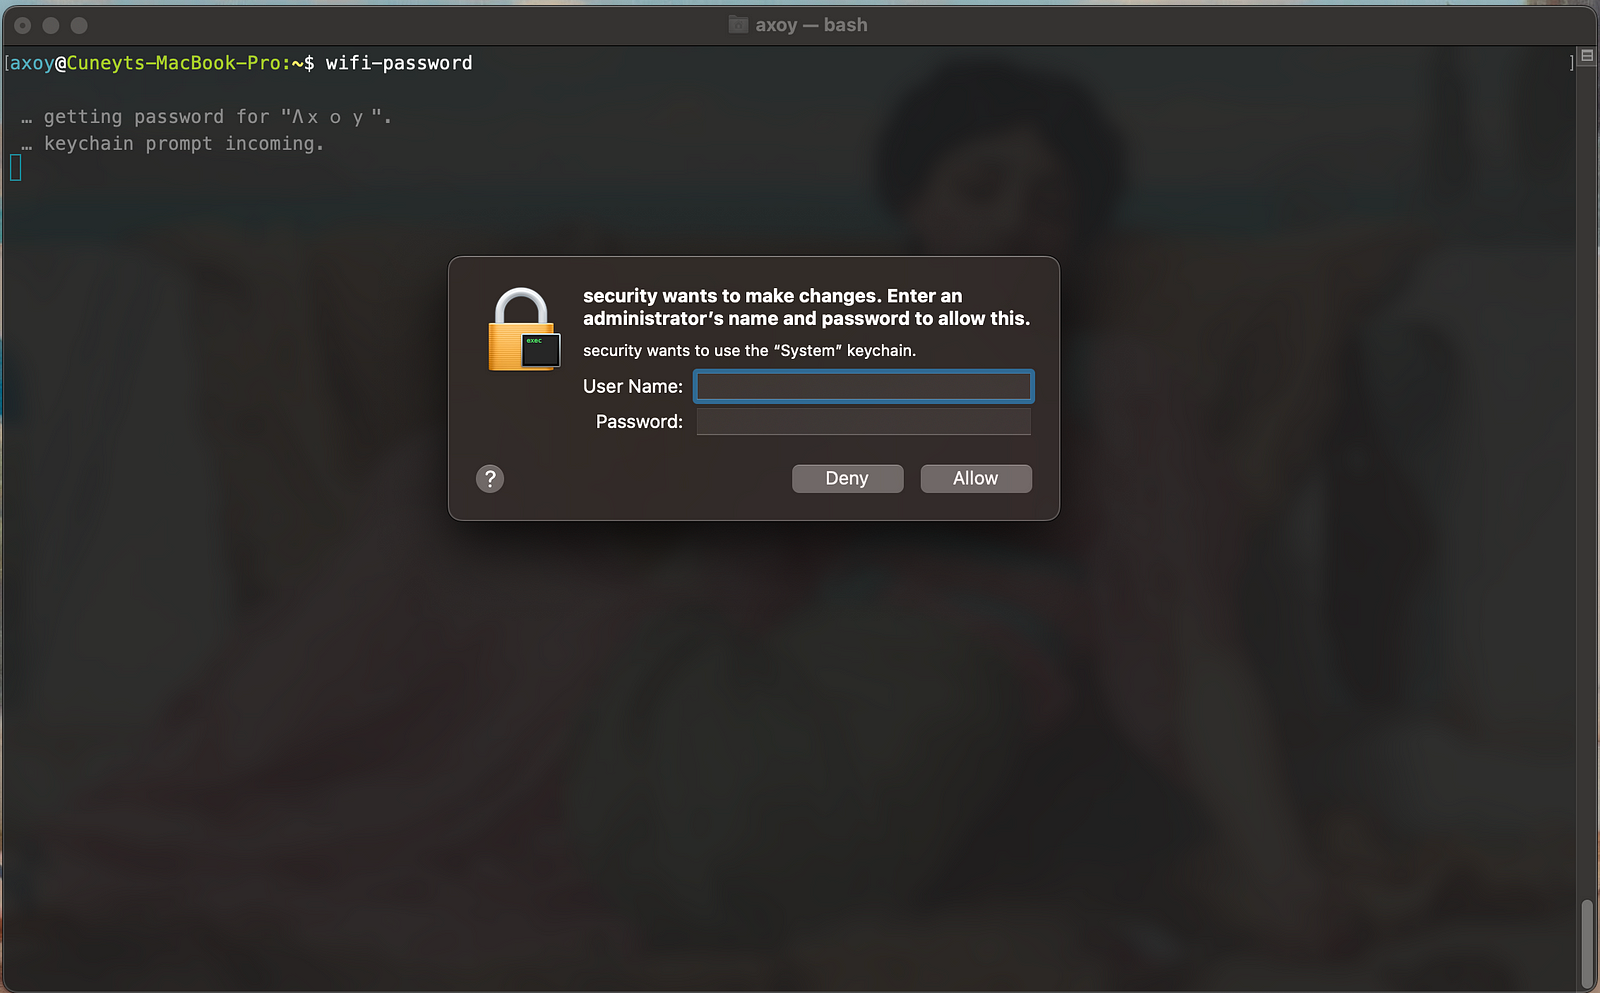
And after you fill in your information, you will be shown the current wifi-password in the terminal window, in plain text:
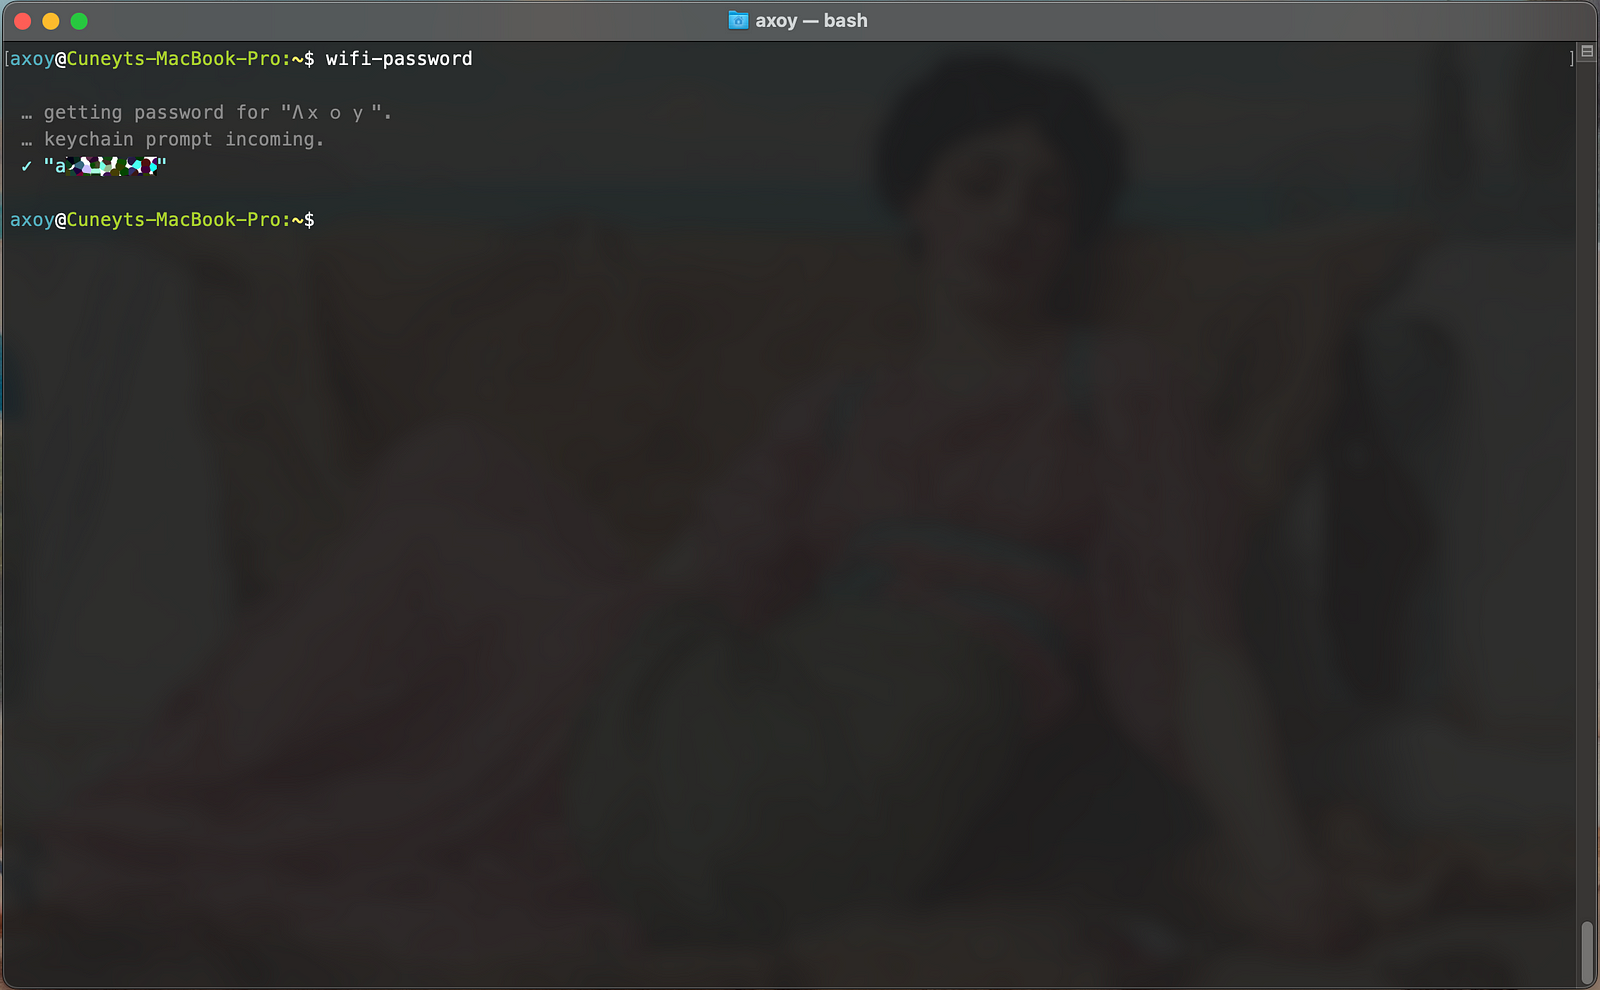
For more information on usage, check out the repo here.
8. Figlet
Another purely aesthetic program - Figlet allows you to display banner-like words and characters in your terminal window.
 erkre
erkre
Installation — Using Brew
1
brew install figlet
Once installed, you can play around with formatting such as font, color, output width and more.
The main way I use this is that I have a welcome message that boots up every-time I open up a new terminal window, which looks like this:
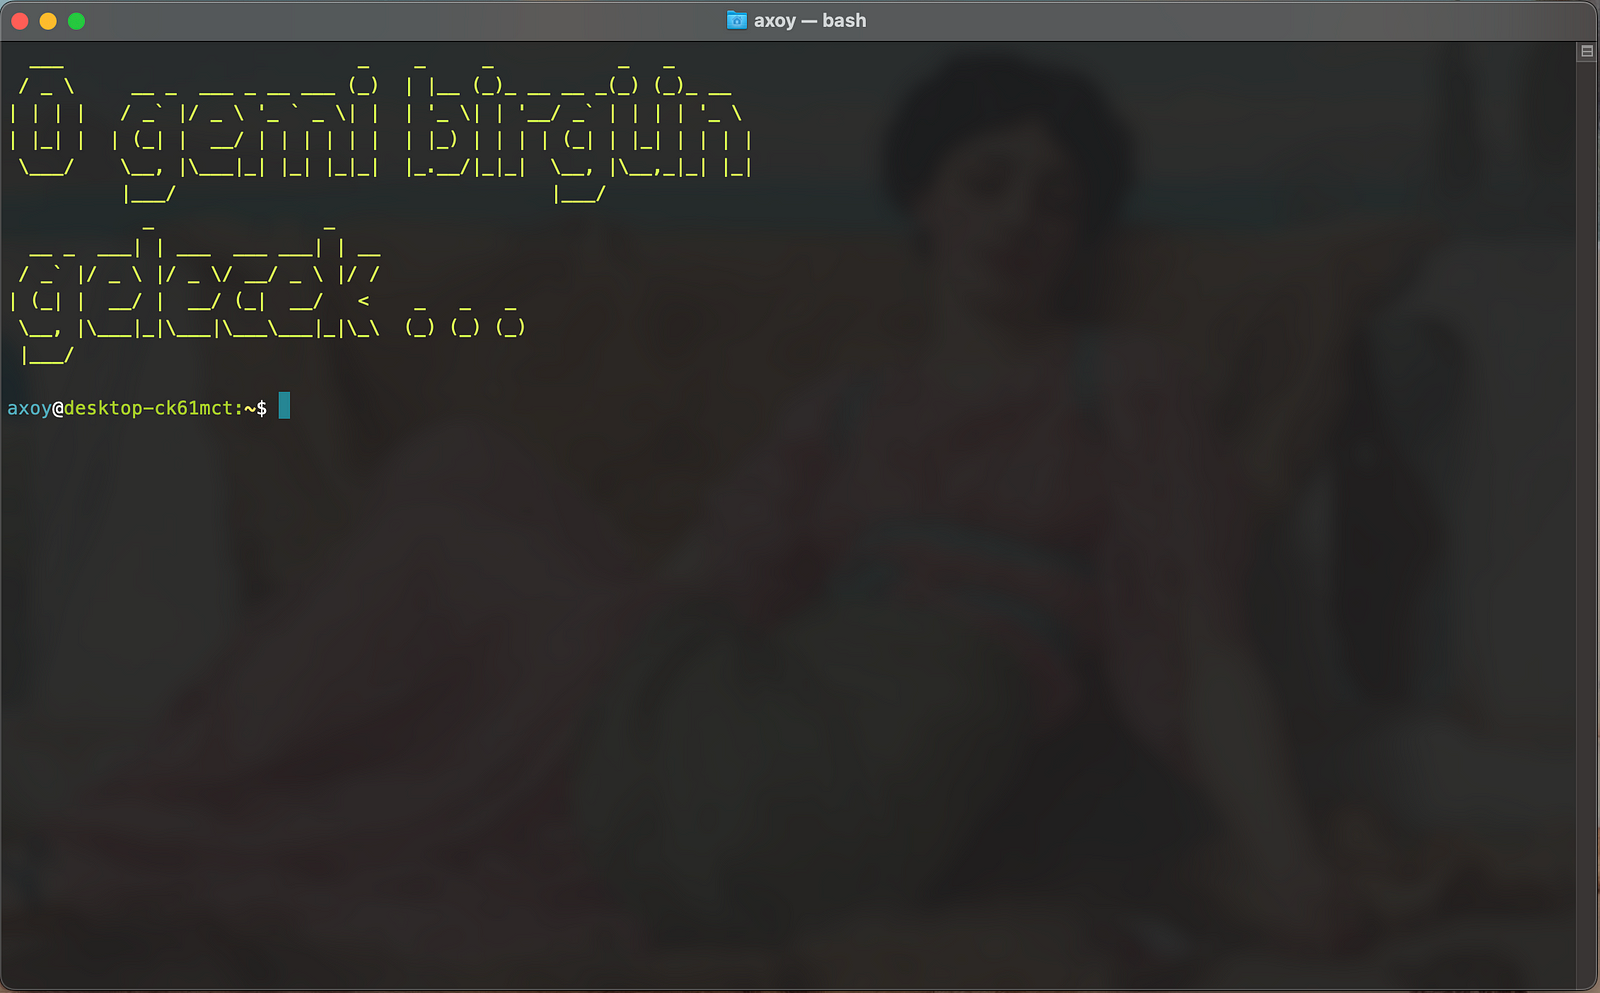 In Turkish: Someday, the ship of hope will arrive. (roughly)
As you can see - I have changed the color from white to green, and amd also using the standard font.
To format the text as seen above, I used this command:
1
2
3
4
# Custom welcome prompt using Figlet
printf "\e[92m" && figlet -f standard -D "O  gemi  birg}n  gelecek  . . ."
# Newline
printf '\n'
Breakdown:
printf "\e[92m": This part uses theprintfcommand to print text with special formatting.\e[92mis an ANSI escape code that changes the text color to light green (color code 92). For more colors click here.&&: This combines two commands and ensures that the second command (figlet) is executed only if the first command (printf) succeeds.-f standard: Specifies the font to be used (in this case, the “standard” font).-D: This flag specifies a delimiter character to separate input lines. In this case, it’s using"O gemi birg}n gelecek . . ."as the input text."O gemi birg}n gelecek . . .": This is the input text that will be transformed into stylized text byfiglet.}: Special German character to printüto the screen.printf '\n': Print a new line (needed if using this as a welcome prompt on your terminal).
And if you would like this to be displayed on the terminal window each time a new window is opened like I have done, you can simply place it in the .bash_profile file. Because this file is executed each time you start a new terminal session, the message you choose will be displayed on your window each time you start a new tab or instance of the terminal.
Find the brew package here.
9. ncdu
Ncdu stands for “NCurses Disk Usage”, and it essentially allows you to scan disks, mounted volumes, folders and more in a neat and fast way. If you’re not a fan of using the gui to sift through your disks — ncdu might be worth a try. You can analyze disks, clean them of unnecessary files to free up space, view and sort by size, export reports, visualize disk usage, and more.
Installation — Using Brew
1
brew install ncdu
Once you’re done — you can simply type in ncdu followed by the directory you would like to scan - ncdu will attempt to scan all files in the current directory by default if you do not specify.
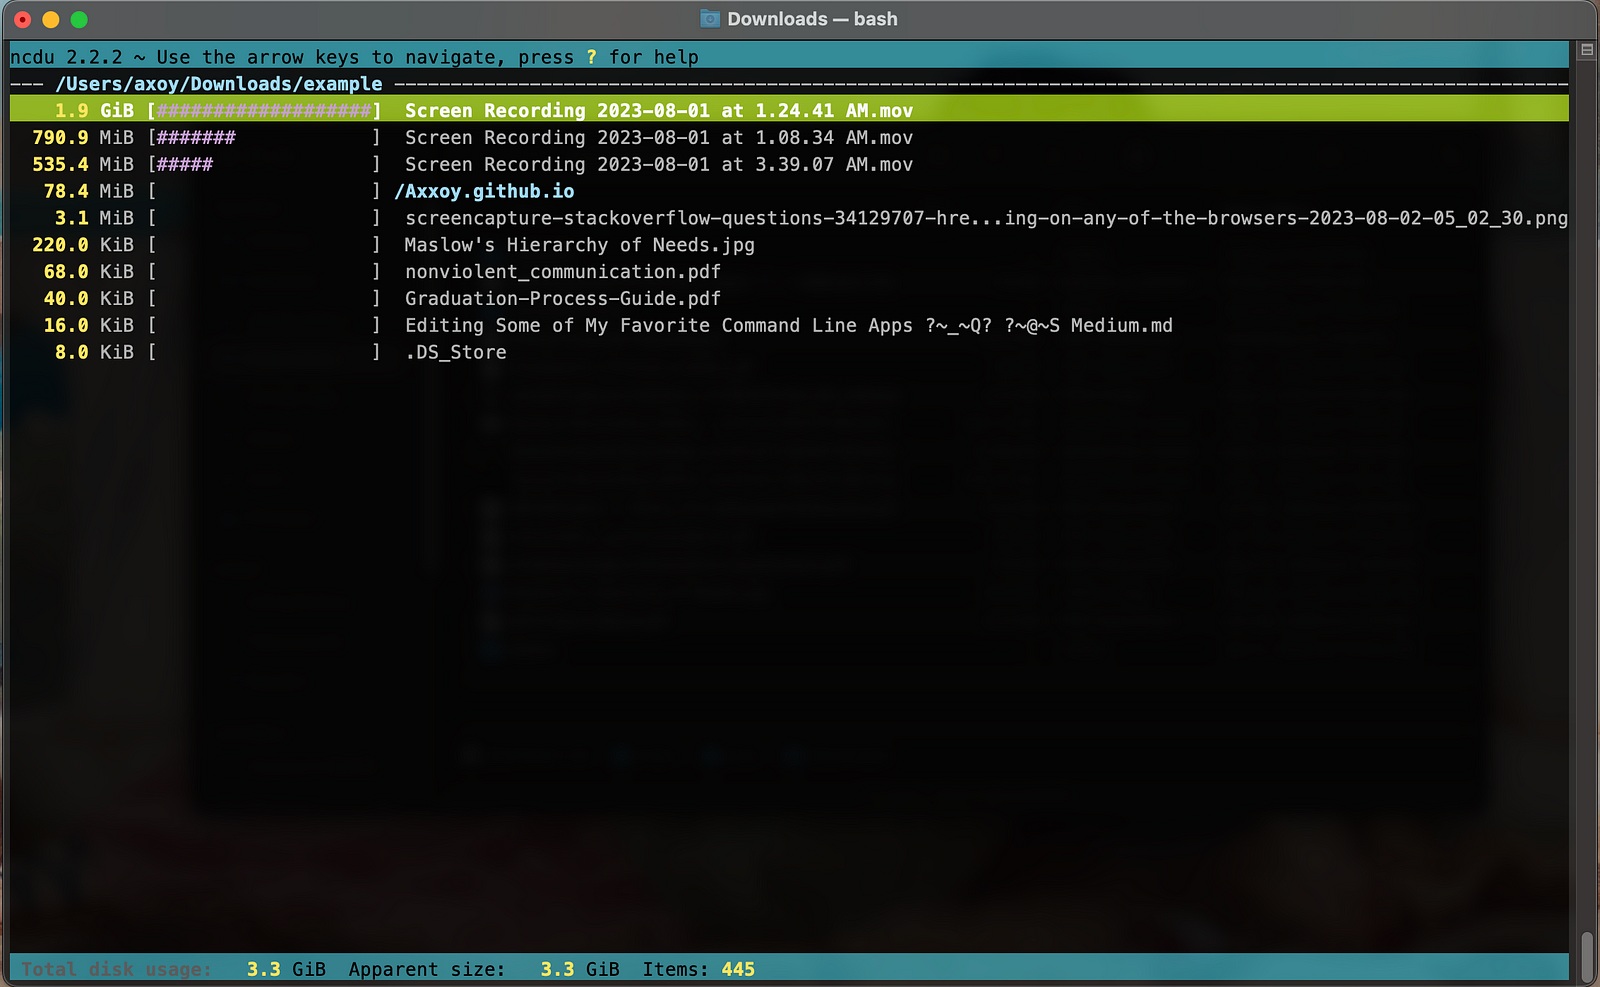
From here on you can sort by pressing:
n: order by filename
s: order by filesize
C: order by number of items
M: order by latest child mtime, or modified time
Right arrow key to open a directory, left to go back.
And delete using d
For more information, check out the docs, and the brew page.
10. Tldr
And last but not least, if you feel too lazy going through the full manual pages of programs, you might want to try tldr.
Installation — Using Brew
1
brew install tldr
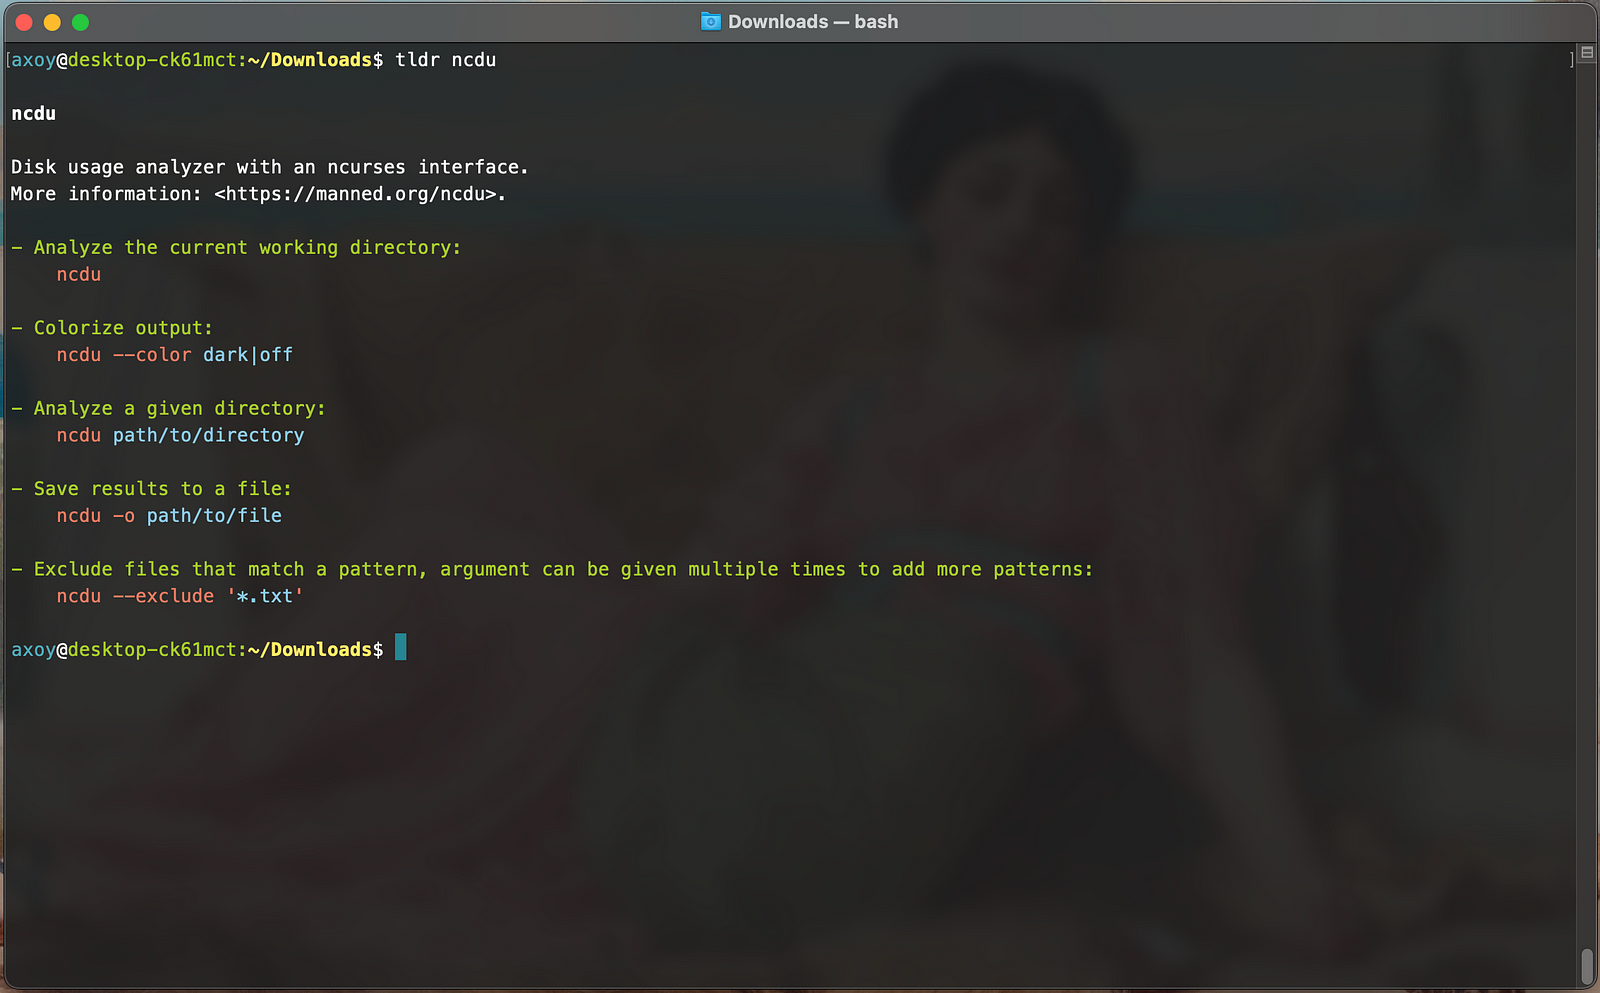
Then, you can simply type in tldr followed by the program name to get a shortened version of the man page:
For instance, the following:
1
tldr ncdu
Results in this man page:
While a regular man ncdu results in the following:
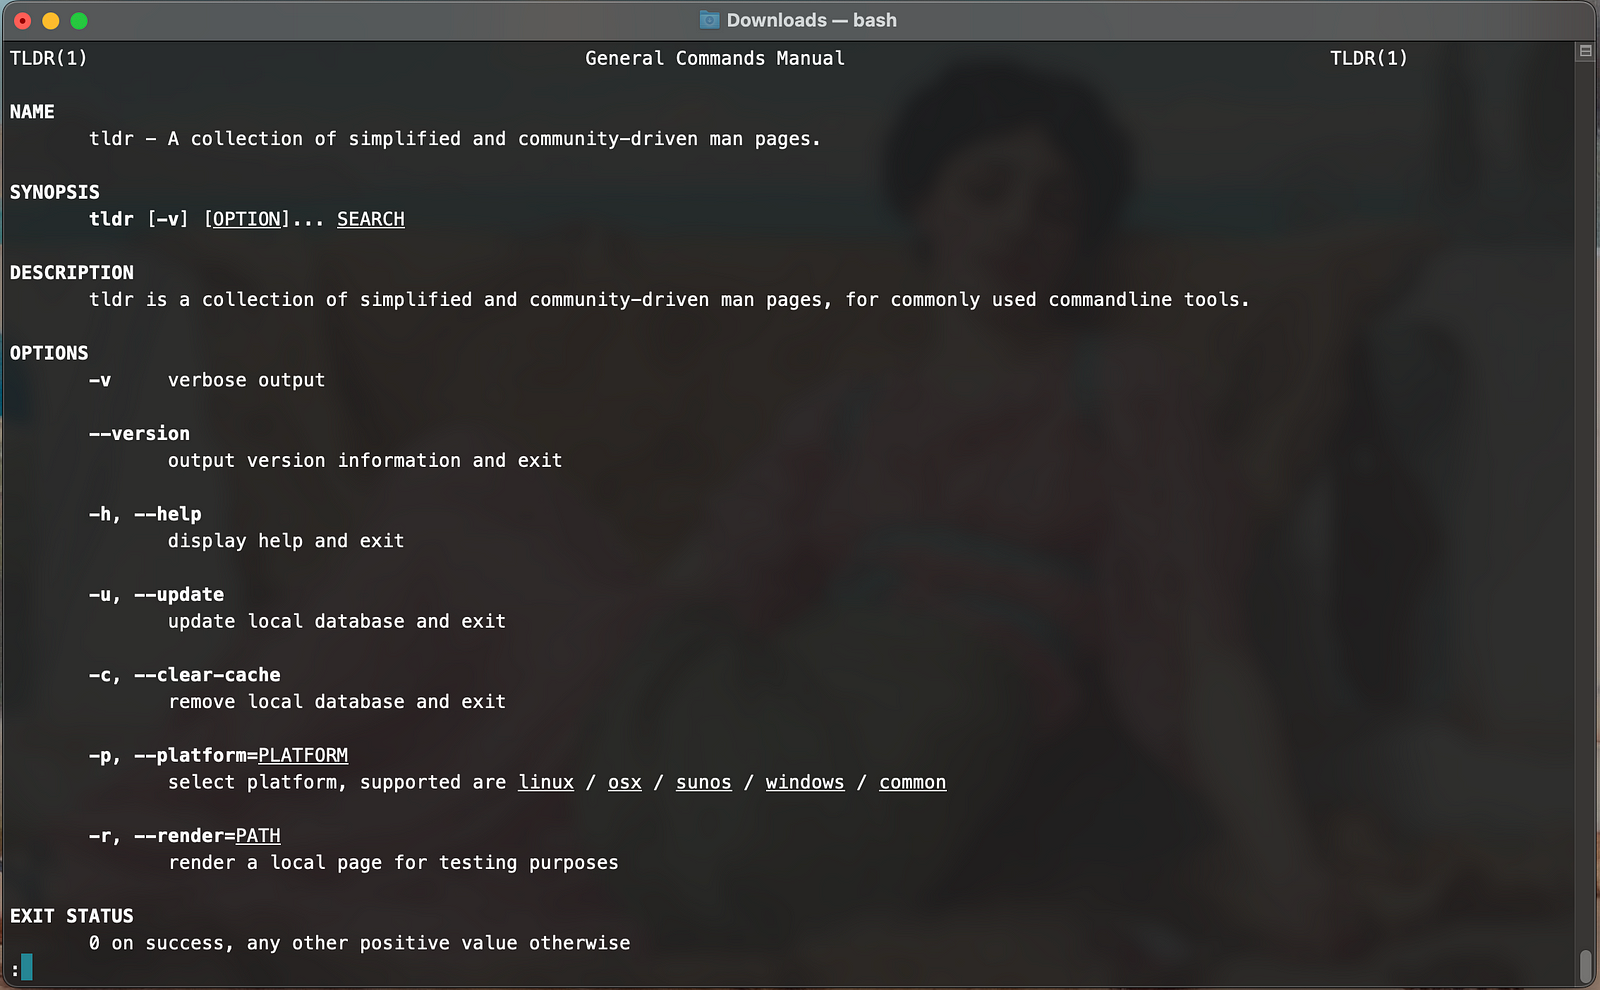
As you can see - the regular man command is more verbose, with content at the bottom waiting to be scrolled through. If you are looking for a quick summary of whatever program it is you’re looking at, tldr might be a neat addition to your set of command line tools. Though I assume if you made it all the way to the end of this post you might not need it as much XD
And that’s all! Thank you for reading through and taking a look at my top go-to choices for tools I use very often. Feel free to comment to send me a message if you have any questions — till next time 👋.